
Choosing the right Thermal Insulation Boards can reduce heat loss, control surface temperatures, and improve indoor comfort. Yet the best board is not always the one with the lowest declared thermal conductivity. Building use, moisture exposure, installation quality, and available space all influence the final result.
On a renovation site, a board may look excellent on paper but perform poorly around window reveals or uneven masonry. Small gaps can create cold bridges. Compression can also reduce thickness and effectiveness. This is why product data should be checked carefully, including thermal conductivity, fire classification, water absorption, compressive strength, and dimensional stability. Reliable manufacturers publish test standards and application limits. Independent certification adds confidence, especially for walls, roofs, floors, and high-temperature areas.
The substrate matters.
A damp wall needs investigation before insulation is added. Otherwise, the board may hide the problem rather than solve it. Mineral wool, rigid foam, PIR, EPS, and XPS each suit different conditions. Their performance changes with density, facing materials, joints, and exposure. Local building regulations must guide fire safety, thickness, vapor control, and fixing methods. A qualified designer or installer should verify the complete assembly, not only one product.
There is no perfect board. I may favor high-performance products too quickly, while overlooking cost or repairability. That judgment deserves review. A dependable choice balances measured performance, practical handling, service life, and responsible installation. This guide explains how to compare Thermal Insulation Boards with clearer criteria, fewer assumptions, and attention to the details that are easy to miss.
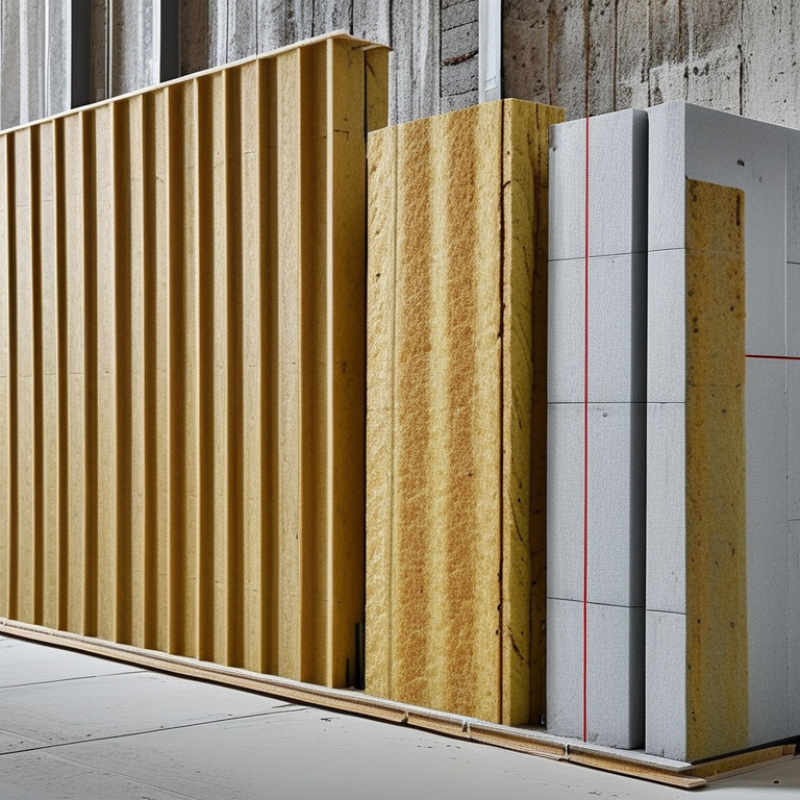
Choosing thermal insulation boards begins with understanding the building’s real purpose and requirements. A roof, wall, floor, or foundation faces different temperatures, moisture levels, and loads. A board suitable for a dry interior wall may fail below a damp floor. Measure the available space carefully. Thickness affects thermal performance, but it also changes door positions, room size, and connection details.
Check the required thermal resistance, fire performance, compressive strength, and moisture behavior. Local building regulations should guide these values. Ask for tested performance data, not only attractive claims. For walls, vapor movement matters because trapped moisture can damage timber, finishes, or masonry. In a cold climate, continuous insulation can reduce thermal bridges around concrete edges and metal fixings. Small gaps still matter. They can create cold stripes and condensation points.
Installation conditions deserve equal attention. Boards should fit tightly, remain dry, and receive suitable protection during construction. A poorly sealed joint can undermine careful calculations. On one project, the selected board met the thermal target but was too fragile for repeated handling. The specification looked correct. The site reality disagreed. That experience changed how I review products: performance data, location, installation method, and maintenance must be considered together. Also, do not ignore future repairs. A system that is difficult to access may create problems later. Sometimes the best board is not the thickest one, but the one that safely fits the entire assembly.
Comparing thermal insulation board materials requires more than checking one advertised number. Thermal resistance is often shown as an R-value, but thickness and installation affect real performance. A board with low thermal conductivity can reduce heat flow effectively. However, gaps between boards may create thermal bridges. Measure carefully.
Expanded polystyrene boards are lightweight and economical, with consistent insulation performance in dry conditions. Extruded polystyrene usually resists moisture better and supports heavier loads.
Polyurethane and polyisocyanurate boards provide high insulation value in thinner sections. Mineral wool boards offer strong fire resistance, sound reduction, and dimensional stability. Their higher weight can make installation slower. Each material has trade-offs.
I have seen excellent boards perform poorly because joints were left open. This is an installation lesson, not just a product issue. Check compressive strength for floors and roofs. Check water absorption for basements and exposed walls. Review fire classification, service temperature, and compatibility with adhesives.
Local climate matters too. A humid coastal wall needs different protection from a dry interior partition. I once focused too heavily on R-value and underestimated wind exposure. That choice needed correction. Select boards according to the whole building assembly, verified test data, and qualified installation guidance.
Choosing an insulation board starts with the required thermal resistance, not thickness alone. R-value shows how strongly a material resists heat flow. A higher R-value usually means better insulation, but materials vary greatly. A 50-millimeter board may outperform a thicker board with poorer thermal performance. Check the product datasheet carefully. Values should match the intended temperature and installation condition.
Measure the available cavity, then compare its space with the target R-value. Local climate, heating needs, moisture exposure, and building regulations also matter. Do not compress rigid boards casually. Gaps can create cold bridges, while excessive thickness can interfere with doors, windows, or ventilation. Experienced installers also check joints, edges, and penetrations because small breaks reduce real-world performance. The calculation may look neat. The building rarely is.
Tips: Confirm the declared thermal conductivity and R-value. Review fire and moisture ratings. Choose thickness only after checking the full wall or roof assembly. For renovation work, inspect damp areas before covering them. A moisture problem under insulation can become expensive and difficult to locate. Ask a qualified professional to verify the design when several materials or unusual structures are involved. Recheck the measurements. I would.
Choosing thermal insulation boards starts with the building’s moisture conditions, not only its stated thermal value. In a humid basement, look for low water absorption and stable dimensions after wetting. A board that performs well when dry may lose effectiveness when damp. Check vapour resistance, edge details, and membrane compatibility. Small gaps around joints can become cold, wet lines. This is often missed during rushed installation. Good drawings help, but site inspection matters more.
Fire performance needs careful reading. Ask for classification reports covering the complete wall or roof assembly, not just the board. Ratings can change with facings, adhesives, cavities, and fixings. Follow the project’s fire design carefully.
Sound control is different. Dense boards may reduce some airborne noise. Resilient layers and sealed joints address vibration and flanking paths. Quiet rooms need a system, not one layer. Laboratory results can weaken through unsealed service penetrations.
Environmental properties should cover more than recycled content. Review manufacturing emissions, durability, indoor emissions, and end-of-life options. Request verified environmental declarations where available. Also consider transport distance and cutting waste. A thinner board is not automatically greener if it requires earlier replacement. Environmental data is not always comparable across products. That limitation deserves attention. Record installation conditions, because moisture, fire detailing, and workmanship often decide whether the specified performance survives.
How to Choose Thermal Insulation Boards?
Plan installation before comparing thickness or price. Start with the building’s heat-loss areas, moisture exposure, and available wall depth. Measure twice. A board that looks suitable may create problems around windows, pipes, or uneven masonry. Record surface conditions with photographs before installation. This simple step helps explain later changes and missed details.
Check compatibility with the substrate, adhesive, fasteners, membranes, and cladding. Some boards need a dry, stable surface, while others tolerate limited irregularity. Never cover damp walls without identifying the moisture source. Moisture wins. Review the product’s declared thermal conductivity, fire classification, water resistance, and installation limits. Local building requirements should guide the final specification, not online advice alone. Leave planned gaps around services, but avoid accidental gaps between boards.
Installation quality strongly affects long-term performance. Stagger joints, cut edges tightly, and protect boards from prolonged rain or sunlight. Seal vulnerable penetrations carefully. I have seen excellent materials underperform because installers rushed corner details. That mistake is easy to repeat. After installation, inspect the surface before closing the assembly. Look for movement, compression, exposed edges, and trapped water. Keep records of board type, thickness, batch information, and repair areas. Inspect exterior finishes seasonally, especially after storms or freeze-thaw cycles. Replace damaged sections with compatible materials rather than applying a random patch. A practical maintenance plan should include ventilation checks, moisture monitoring, and periodic professional review.
| Board Type | Typical Thermal Conductivity (λ, W/m·K) | Approx. R-Value at 100 mm (m²·K/W) | Moisture Behavior | Fire Performance | Suitable Applications | Compatibility Considerations | Long-Term Maintenance |
|---|---|---|---|---|---|---|---|
| Expanded Polystyrene (EPS) | Approximately 0.032–0.040 | 2.50–3.10 | Low water absorption, but exposed edges and joints should be protected. | Combustible; must be covered with a suitable fire-protective system. | External wall insulation, cavity walls, roofs, and floors. | Check compatibility with adhesives, renders, solvents, and mechanical fixings. | Inspect render, joints, flashings, and areas vulnerable to impact or pests. |
| Extruded Polystyrene (XPS) | Approximately 0.029–0.036 | 2.80–3.45 | Very low water absorption and good resistance to freeze–thaw exposure. | Combustible; requires protection according to the wall or roof assembly. | Basements, foundation walls, inverted roofs, floors, and high-load areas. | Verify vapor control, drainage, adhesive suitability, and compressive strength. | Check drainage layers, exposed surfaces, joints, and protection against UV degradation. |
| Polyisocyanurate (PIR) | Approximately 0.022–0.028 | 3.55–4.55 | Generally low water absorption; joints and facings must remain intact. | Combustible core; fire behavior depends on the complete tested assembly. | Pitched roofs, flat roofs, walls, floors, and projects with limited build-up depth. | Protect facings from damage, seal joints, and use compatible low-expansion foam or adhesive. | Inspect membrane continuity, taped joints, penetrations, and signs of condensation. |
| Phenolic Foam | Approximately 0.018–0.023 | 4.35–5.55 | Low water absorption when facings and joints are properly protected. | Often offers strong fire performance, but classification must be confirmed for the full system. | Thin external walls, pitched roofs, floors, and space-limited renovations. | Use only approved adhesives, fixings, membranes, and compatible finishing systems. | Monitor facings, seals, thermal bridges, and moisture at cut edges and penetrations. |
| Mineral Wool Board | Approximately 0.034–0.041 | 2.45–2.95 | Vapor-permeable; must be protected from persistent wetting and compression. | Generally non-combustible, subject to product thickness and system classification. | External wall systems, rainscreen walls, roofs, partitions, and acoustic upgrades. | Coordinate vapor control, wind barriers, cavity ventilation, and mechanical support. | Check cladding, membranes, cavity ventilation, settlement, and moisture exposure. |
| Wood Fiber Board | Approximately 0.038–0.050 | 2.00–2.60 | Hygroscopic and vapor-open; requires careful weather protection and drying design. | Combustible; fire resistance depends on density, thickness, coverings, and assembly design. | Breathable wall systems, roofs, retrofit projects, and acoustic applications. | Assess moisture movement, render compatibility, ventilation, and structural support. | Inspect for leaks, biological growth, pest activity, render cracking, and prolonged dampness. |
| High-Density Cellular Glass | Approximately 0.036–0.050 | 2.00–2.80 | Non-absorbent, vapor-tight, and resistant to water and many chemicals. | Non-combustible and dimensionally stable at elevated temperatures. | Foundations, below-grade walls, industrial areas, flat roofs, and high-moisture locations. | Plan for rigid installation, full-bed bonding, substrate flatness, and vapor-tight detailing. | Usually low maintenance; inspect waterproofing, joints, coatings, and mechanical damage. |
Planning note: Thermal conductivity and R-values are typical indicative ranges for dry materials. Actual performance depends on thickness, density, temperature, moisture content, aging, installation quality, thermal bridging, and the complete building assembly. Always confirm the applicable building code, fire classification, moisture strategy, load requirements, and manufacturer installation instructions before specifying a board.