How to Choose the Best Anti Glare Glass for Your Needs?
Choosing the right Anti-Glare Glass is more than selecting the surface with the lowest reflection rate. The correct choice depends on lighting, viewing distance, glass thickness, installation angle, and daily use. A display near a bright window needs different performance from a museum case or office partition. Small details matter.
Optical-coatings expert Dr. Markus Schmid offers a useful reminder: “Lower reflection helps only when the glass still preserves clear, accurate light.” That principle should guide every comparison. A coating may reduce harsh reflections, yet create a slight color shift or visible haze. It can also perform well in a showroom and disappoint under strong afternoon sunlight. Real conditions are less forgiving.
Look closely at the product specifications. Check visible light transmission, reflection percentage, haze, scratch resistance, cleaning requirements, and coating durability. Ask whether the anti-glare layer is applied to one surface or both. Confirm how it behaves with fingerprints, LED lighting, and polarized sunglasses. These practical questions often reveal more than a polished product brochure.
The most expensive option is not automatically the best. Nor is the darkest glass. A balanced product should control glare without making text, artwork, or screens look dull. You may need to compare samples beside the intended window or light source. That step feels slow. It prevents costly regret.
This guide explains how to evaluate Anti-Glare Glass by application, optical performance, durability, maintenance, and budget. Some recommendations may require compromise. That is normal. The best decision is the one that remains comfortable, clear, and reliable in the environment where the glass will actually serve.
Understand How Anti-Glare Glass Works
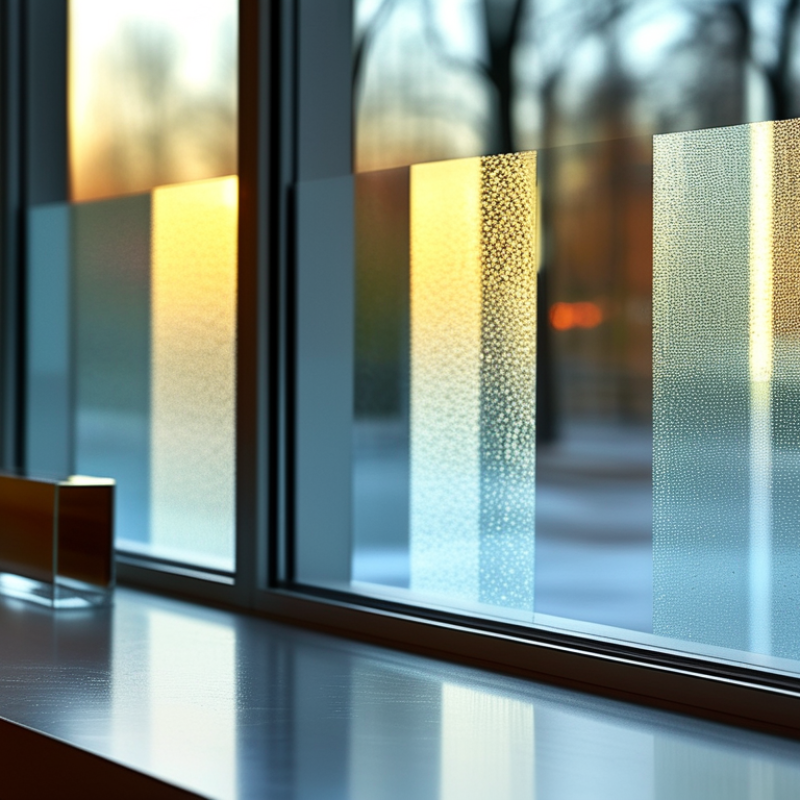
Anti-glare glass works by controlling how light behaves at its surface. Standard glass reflects a small amount of light, creating harsh spots from windows, lamps, or screens. Anti-glare glass uses a fine matte texture to scatter these reflected rays. The result is softer brightness and fewer distracting reflections. Some products also use anti-reflective coatings, which reduce reflection through carefully designed optical layers. These methods are related, but they are not identical. Matte glass diffuses light, while an anti-reflective coating reduces the amount of light reflected.
Choosing the right glass depends on where it will be used. In a bright office, a moderate matte finish can improve screen comfort without making text look dull. For display cases, clearer glass may protect detail better. I recommend viewing a physical sample under the actual lighting conditions. Check small text, dark images, fingerprints, and cleaning marks. A heavy texture may reduce sharpness. I once focused too much on glare reduction and overlooked image clarity. That was a useful mistake.
Tips: Compare samples near a window and under overhead lighting. Tilt the glass slowly. Watch how reflections change. Ask about light transmission, surface hardness, and cleaning requirements. Avoid choosing by appearance alone. A surface that looks excellent in a showroom may feel different beside your working screen. Keep the frame and viewing distance consistent during testing.
Identify Your Lighting, Space, and Viewing Needs
Choosing anti-glare glass starts with observing the actual light around you. Note whether sunlight enters directly, overhead LEDs shine on the surface, or lamps sit behind your viewing position. Direct reflections need stronger glare control than soft, indirect light. In my experience testing display covers and framed panels, a matte finish reduces bright reflections but can slightly soften fine detail. That trade-off matters.
Your space also determines the right surface. A bright office with white walls can reflect light from many angles. A darker room may need less aggressive diffusion. Measure the panel’s position, viewing distance, and typical eye level before ordering. Large windows deserve special attention. They can create moving reflections throughout the day. If cleaning is frequent, choose glass with a durable coating and follow the cleaning guidance carefully. Abrasive cloths can reduce performance.
Match the glass to how you view information. For detailed drawings, maps, or high-resolution screens, choose controlled reflection with strong transparency. For menus, artwork, or public displays, wider viewing angles may matter more than perfect sharpness. Check the glass under your real lights, not only showroom lighting. That test often changes the decision. I have seen buyers select the darkest matte finish, then regret the muted image. Anti-glare is not automatically better. It must fit the room and the eyes using it.
Compare Anti-Glare Glass Types and Surface Treatments
Choosing anti-glare glass starts with comparing glass types and surface treatments, not just viewing a product label. Clear glass with an etched surface scatters reflected light across a fine matte texture. It works well near windows, but excessive haze can soften text and reduce contrast. Coated glass uses a thin functional layer instead. It can preserve sharper images, though fingerprints, cleaning chemicals, and poor coating adhesion may reduce performance over time.
Anti-reflective treatment is different from anti-glare treatment. Multilayer coatings reduce reflected light through optical interference, while etched surfaces diffuse reflections. The difference is visible under a ceiling lamp: etched glass creates a broad glow, while anti-reflective glass can keep the lamp’s reflection faint and defined.
ASTM D1003 measures haze as a percentage, and ISO 13468 measures luminous transmittance. Ask suppliers for both figures, not vague claims such as “high clarity.”
A practical comparison needs real lighting. Test samples beside a bright window, under cool-white LEDs, and with dark images on screen. The Display Supply Chain Consultants’ 2024 display outlook continues to emphasize higher pixel density and stronger contrast, making surface clarity increasingly important. Yet more transparency is not always better. A very smooth coating may show sharp reflections, especially on black screens. I would also inspect fingerprints after repeated cleaning. Laboratory numbers help, but they do not replace a ten-minute hands-on check. Some choices remain imperfect. That is normal.
Evaluate Clarity, Durability, Maintenance, and Cost
How to Choose the Best Anti Glare Glass for Your Needs?
Choosing anti glare glass starts with clarity. Under bright ceiling lights, a good surface should reduce reflections without creating a cloudy or yellow appearance. View text from different angles, especially if you use glasses, monitors, or display panels for long hours. Ask for tested optical performance, not only a “premium” description. In my experience, a slightly clearer coating feels more comfortable during evening work. However, personal comfort can vary.
Durability matters in daily use. Check whether the surface resists scratches, fingerprints, moisture, and repeated cleaning. A hard coating may last longer, but it cannot prevent every mark. Use a soft microfiber cloth and a gentle cleaner recommended for coated glass. Avoid paper towels. They can leave fine scratches over time. Maintenance is often underestimated.
Tips: Compare samples near a window and beneath overhead lighting. Read the care instructions before purchase. Consider replacement costs, not just the initial price. A cheaper option may need earlier replacement, while the most expensive one may offer features you never use. Set a practical budget. My own choice was not perfect; I valued clarity, but later wished the coating handled fingerprints better. That small regret is worth considering before you buy.
Select the Right Glass and Verify Its Performance
How to Choose the Best Anti Glare Glass for Your Needs?
Selecting anti-glare glass requires more than checking a product label. Start with the space, viewing direction, daylight exposure, and screen position. A glass sample may look comfortable in a showroom, yet perform poorly beside a bright window. I have seen this mistake on small office projects. The test environment was too controlled.
Verify visible transmittance, external reflectance, haze, and solar heat gain. These figures reveal how the glass handles daylight and reflected images. The CIE 117 standard provides methods for evaluating discomfort glare in lighting environments. ISO 9050 also defines optical measurements for glass, including light transmission and reflection. Ask for certified laboratory results, not only marketing descriptions. Test a full-size sample at the actual installation angle. Check it during morning, noon, and late afternoon conditions.
Tips: Compare samples with the real screen, desk, and lighting. Use a light meter for illuminance and a glare assessment method aligned with ISO 9241-307. Keep notes on reflections, eye comfort, and image clarity. A small difference matters. The IEA’s Buildings 2023 report states that building operations account for about 30% of global final energy consumption. Therefore, excessive solar control may reduce glare but increase artificial lighting needs. This balance is easy to overlook. Recheck the decision after seasonal testing, because winter light can expose weaknesses hidden during summer.